Install Virtualmin on Ubuntu 20.04 LTS Focal Fossa
Step 1. First, make sure that all your system packages are up-to-date by running the following apt commands in the terminal.
sudo apt update
sudo apt upgrade
sudo apt install software-properties-common apt-transport-https wget
Step 2. Installing Virtualmin on Ubuntu 20.04.
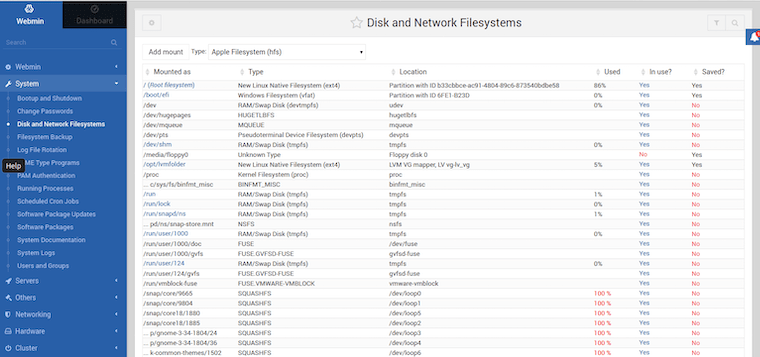
Before installing Virtualmin, now we install Webmin because Webmin uses a plugin called Virtualmin to simplify the management of multiple virtual hosts through a single interface, similar to cPanel or Plesk.
Now install Webmin using the official repository on both Debian and non-Debian-based systems. We can install Webmin using the Webmin APT repository on Ubuntu as shown below:
sudo nano /etc/apt/sources.list
# Add these lines at last
deb http://download.webmin.com/download/repository sarge contrib
deb http://webmin.mirror.somersettechsolutions.co.uk/repository sarge contrib

# Save and exit the editor
Next, install the GPG key as shown below. We need the GPG key to trust the repository:
wget -q http://www.webmin.com/jcameron-key.asc -O- | sudo apt-key add -
Now we can install the most recent version of Webmin using the following commands:
sudo apt update
sudo apt install webmin
Step 3. Configure Firewall.
By default, Webmin listens for connections on port 10000 on all network interfaces. You need to open the port in your firewall so that the Webmin interface is accessible from the Internet:
sudo ufw allow 10000
sudo ufw reload
Step 4. Accessing Webmin Web Interface.
To login to Webmin’s dashboard, open up your browser and browse your server’s IP as follows:
https://your-server-ip-address:10000/
Step 5. Installing Virtualmin on Ubuntu 20.04.
Virtualmin provides an install script that allows for an easy installation. Run the commands below to download the Virtualmin script:
curl -O http://software.virtualmin.com/gpl/scripts/install.sh
Once downloaded, make the script executable:
sudo chmod +x install.sh
Finally, run the commands below to install Virtualmin:
sudo ./install.sh
The script will display a warning message about existing data and compatible operating systems. Press y to confirm that you want to continue the installation.
Step 6. Accessing Virtualmin Web Interface.
Virtualmin web-based monitoring will be available on HTTPS port 10000 by default. Open your favorite browser and navigate to http://your-domain.com:10000 or http://server-ip-address:10000.

Congratulations! You have successfully installed Virtualmin. Thanks for using this tutorial for installing the Virtualmin on your Ubuntu 20.04 LTS Focal Fossa system.
Multiple PHP Versions
## Installing PHP 5.6 and/or 7.4 and/or 8.0 on Debian 9/10
# Enable the [DEB.SURY.ORG](https://deb.sury.org/#debian-dpa “DEB.SURY.ORG”) repository:
apt-get -y install apt-transport-https lsb-release ca-certificates curl
curl -sSL -o /etc/apt/trusted.gpg.d/php.gpg https://packages.sury.org/php/apt.gpg
sh -c 'echo "deb https://packages.sury.org/php/ $(lsb_release -sc) main" > /etc/apt/sources.list.d/php.list'
# Update all repositories:
apt update
# Install PHP packages version 5.6 and/or 7.4 and/or 8.0:
apt-get install php5.6-{cli,pdo,fpm,zip,gd,xml,mysql,cgi}
apt-get install php7.4-{cli,pdo,fpm,zip,gd,xml,mysql,cgi}
apt-get install php8.0-{cli,pdo,fpm,zip,gd,xml,mysql,cgi}
Lastly, see the information on [configuring the second PHP version](#toc-configuring-the-second-php-version-in-virtualmin-ooq1ksVU “configuring the second PHP version”) below.
## Installing PHP version 5.6 and/or 7.3 and/or 8.0 on Ubuntu 16.04, 18.04 and 20.04
# Install the PPA:
add-apt-repository ppa:ondrej/php && apt-get update
# Install the PHP packages:
apt-get install php5.6-{cli,pdo,fpm,zip,gd,xml,mysql,cgi}
apt-get install php7.3-{cli,pdo,fpm,zip,gd,xml,mysql,cgi}
apt-get install php8.0-{cli,pdo,fpm,zip,gd,xml,mysql,cgi}
Lastly, see the information on [configuring the second PHP version](#toc-configuring-the-second-php-version-in-virtualmin-ooq1ksVU “configuring the second PHP version”) below.
## Configuring the second PHP Version in Virtualmin
Once you have completed the installation of a second PHP version on your server, you can verify that Virtualmin sees it by logging into Virtualmin, and clicking System Settings -> Re-Check Config. You should see something like this:
The following PHP versions are available : 5.3.3 (/usr/bin/php-cgi), 5.6.25 (/opt/rh/rh-php56/root/usr/bin/php-cgi), 7.0.10 (/opt/rh/rh-php70/root/usr/bin/php-cgi)
You can configure which one is the default PHP version used on new Virtual Servers. The default is to use the newest available. You can change that default in System Settings -> Server Templates -> Default -> PHP Options, and on that screen you can set the default PHP version to use in the field **Default PHP version**.
## Configuring Individual Virtual Servers
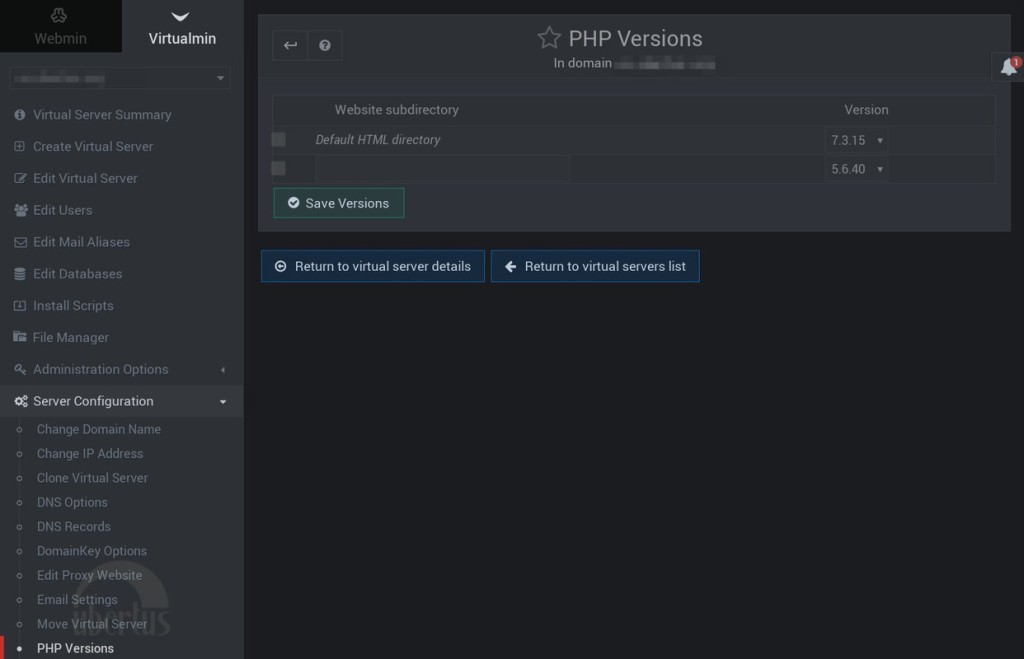
You can configure the PHP version being used for a specific Virtual Server by selecting Server Configuration -> PHP Versions.
The first line there specifies what PHP version will be used by default.
If you wish, you can specify a different PHP version to be used for a specific directory.
